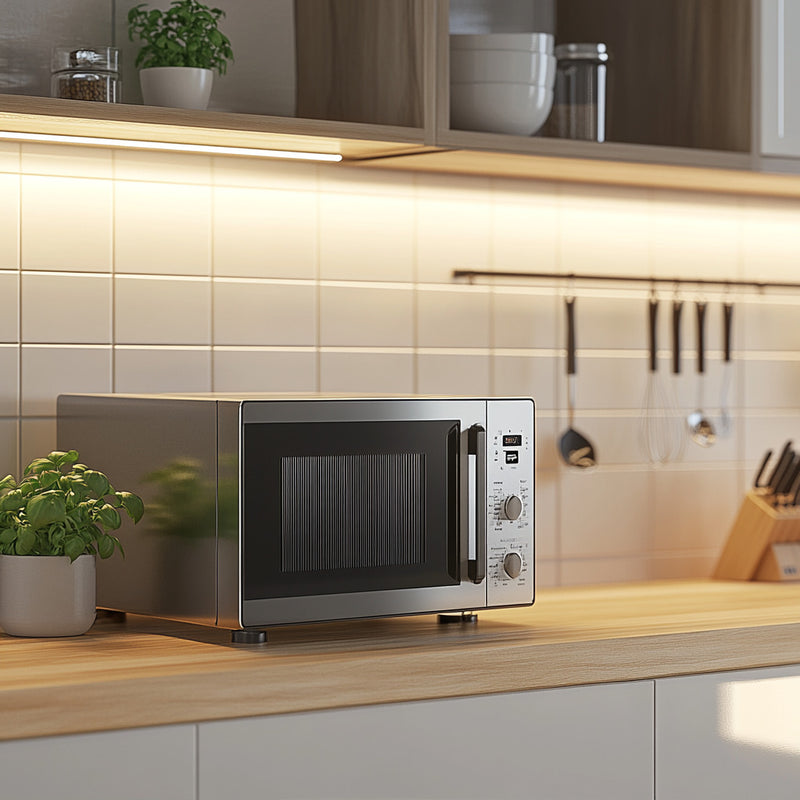
Why and How to Change Your Microwave Filters
Microwaves are an essential household appliance, and maintaining them involves more than just routine cleaning. For certain types of microwaves, especially those installed over stovetops or built into cabinetry, taking care of the filters is a crucial step to ensure proper functionality, maintain air quality, and keep grease and odors at bay.
Microwaves That Require Filter Maintenance
Countertop microwaves typically don’t contain filters. However, vented microwaves—such as over-the-range microwaves, built-in models, and convection microwave ovens—are equipped with filters that help manage air circulation and trap grease and odors. These filters ensure that grease and debris do not accumulate inside the appliance or spread through the kitchen.
There are two main types of filters found in these models:
- Charcoal Filters: Designed to neutralize kitchen odors to keep food tasting fresh.
- Grease Filters: Prevent grease from building up inside and outside the appliance.
How Often Should Microwave Filters Be Cleaned or Changed?
The frequency of cleaning or replacing filters depends on the type:
- Charcoal Filters: These are disposable and should be replaced every six months. Over time, they lose efficiency, preventing proper airflow and reducing the microwave’s performance.
- Grease Filters: These are reusable and need to be cleaned monthly. A dirty grease filter impairs air circulation and can cause odors and debris to accumulate in the microwave and surrounding areas.
Steps to Clean or Replace Filters
For Charcoal Filters:
- Locate the vent panel on your microwave—it’s typically found on the top, bottom, back, or door, depending on the model.
- Use a screwdriver to remove the vent panel.
- Take out the old filter and replace it with a new one. Charcoal filters are not washable—you must purchase replacement filters from the manufacturer.
- Reinstall the panel and ensure the microwave is securely reassembled.
For Grease Filters:
- Turn off and unplug the microwave before cleaning.
- Grease filters are generally located underneath the microwave. Check your appliance manual to confirm its location.
- Remove the filter—this often involves pressing a tab or clip to release it.
- Soak the filter in warm, soapy water for at least 10 minutes. If it’s heavily soiled, adding a 1/4 cup of baking powder to the soaking solution can help remove tough grease.
- Gently scrub with a brush if necessary, then rinse and let it air dry completely before reinstalling.
Why This Matters
Neglecting microwave filters can lead to a decline in the appliance’s performance, unpleasant odors in your kitchen, and even potential buildup of grease or debris, which could compromise safety. Keeping filters clean not only prolongs the life of the microwave but also maintains a cleaner and healthier kitchen environment.
Pro Tips
- Always refer to the owner’s manual for specific instructions based on your microwave model.
- Make note of replacement schedules to stay on top of this maintenance task. Many manufacturers label their filters with replacement recommendations.
Conclusion
Regularly cleaning and replacing microwave filters is a small, often-overlooked task that makes a big difference in the usability and safety of your kitchen. Adding this maintenance step to your regular chores improves both the efficiency of your microwave and the air quality in your living space.


